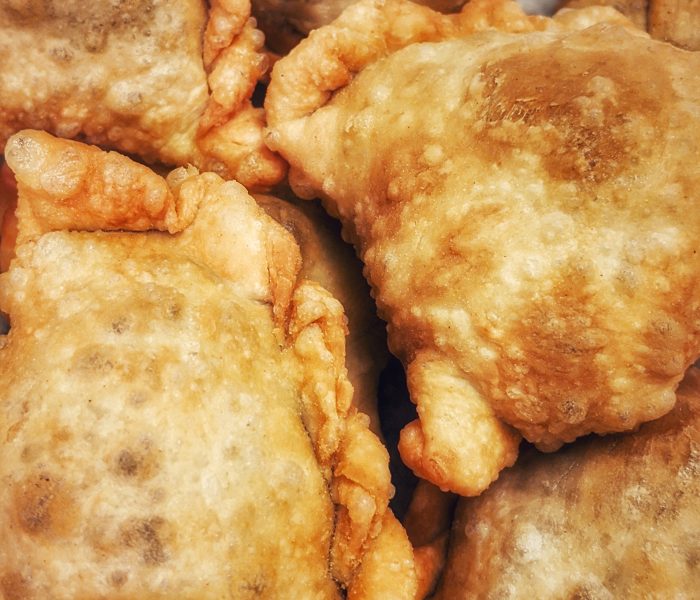
Samosas really aren’t that tough to make. The filling and dough are pretty easy. It’s the assembly that takes a bit of practice. The recipe for how to make samosas is below along with the recipe for the dough and the pastry. The steps for the assembly of the samosas are below with pictures. Hopefully the pictures will be helpful. I think a video would be ideal but, I haven’t gotten there, yet. Soon! Enjoy!
Samosas
Notes
The actual assembling of the samosa is a separate skill all together. I'll try to explain that below.
Ingredients
- Filling
- • 1 kg ground beef
- • ½ - 1 tsp turmeric
- • ½ - 1 tsp chili powder
- • ½ - 1 tsp ginger powder
- • ½ - 1 tsp garlic powder
- • ½ - 1 tsp cinnamon powder
- • As needed. Teriyaki, Worchester sauce, soya sauce etc. (optional)
- Dough
- • 3 c flour
- • 3 tbsp olive oil
- • Water
Instructions
- For the Filling: Cook beef in olive oil.
- Add spices and cook until done.
- Set aside and cool.
- For the Dough: Mix flour and oil together.
- Add water, 1 tbsp at a time until dough forms.
- Roll out on counter.
- Cut into small round balls about the size of a golf ball.
- Roll out with a rolling pin into a circle to about the size of a dessert plate.
- Cut in half.
Assembling of the Samosa
Assembling of the actual samosa is probably the main part in how to make samosas. It is also probably the hardest part to explain. It is the part that requires craftsmanship. I have practiced for years. The best way to explain this part is through a demonstration with hands on practice. Since that it not possible here, I’ll go through pictures of the steps.
- The first step is to make the dough. (Of course, I forgot to get a picture of that! Next time.) Once you have the dough, you take a little ball, maybe the size of a golf ball, and roll it out into a circle about 6 inches in diameter. (I will take measurements next time and repost with more precise details.) Note that the dough is actually made in the same way that you made the dough to make parathas.

2. Once you have your dough circle, cut it in half along a diameter.

3. Take one half dough circle and fold it half with straight edges together and seal the straight edge. This creates a cone. Let’s call this the samosa cone.

4. Now hold the cone in your hand like an ice cream cone. Then take some of the meat filling and stuff it inside the cone.

5. Now close up the open end of the cone, that has just been stuffed with meat.

6. Once you have closed up the open end of the cone, go over the closed end and squish it down so it’s flat.

7. Now is the toughest part to explain. Making the “frilly” edging. Starting at the left corner of edge you just sealed, squish down a small section and fold over; move over approximately 1cm, squish down and fold over overlapping the previous fold over; repeat this last step until you reach the right hand edge. Then you’re done with making the “frilly” edging. The picture and video below hopefully helps clarify the explanation.

8. Repeat steps 2-7 until you have either no dough left of no filling left. Now you have a whole bunch of little samosas ready to be fried.

9. Final step is to fry each samosa in hot, boiling oil, until golden brown. Be careful! Don’t burn yourself! Samosas taste just as good with burnt hands but aren’t as fun to each with burnt hands.
- Everyone will love this hazelnut spread stuffed cookies recipe - November 18, 2024
- The Greely Good Market is a Modern Outdoor Market - September 3, 2024
- Our Quick Visit to the Petawawa Container Market - September 3, 2024


